First DJ Gig Checklist: What to Pack and Test
A practical checklist for moving from bedroom practice to a real event.
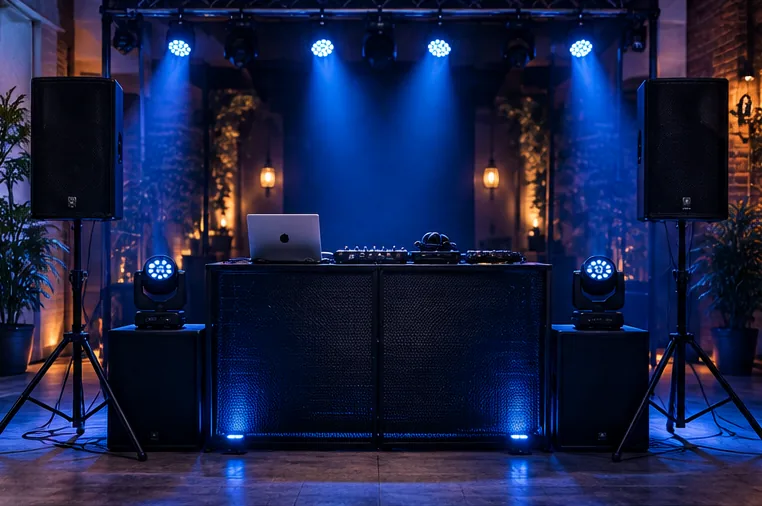
Primary performance system
Pack the controller or standalone system, laptop if required, power supplies, headphones and prepared music library. If using USB media, take at least two independently prepared drives rather than one.
Audio connections
Carry the main cable you expect to use and a small set of sensible alternatives or adapters. Know whether the venue expects XLR, TRS or RCA. Do not assume the house system will have the exact cable you need.
Microphone and announcements
If you are responsible for announcements, test the microphone through the same system you will use at the event. Confirm the controller or mixer has an appropriate mic input and independent level control.
Backup thinking
Bring spare USB and audio cables, an extension lead appropriate for the venue, and a backup music source. Reliability becomes part of DJ skill once other people depend on the performance.
Soundcheck
Arrive early. Verify left and right output, headphone cueing, microphone level and maximum usable volume before guests arrive. Leave headroom rather than running every meter close to clipping.
Pack by consequence, not by category
Start with the items whose absence would stop the performance: music, playback device, controller or prepared media, power supplies and the cable needed to reach the venue sound system. Then add monitoring, microphone equipment and convenience items. This order makes it much harder to remember a spare adapter while forgetting the controller power supply.
Keep mission-critical items together in one bag or case and check them against a written list before leaving. If an item has a unique power supply or proprietary cable, treat that cable as part of the equipment rather than as an optional accessory.
Use the same arrival sequence every time
On arrival, confirm where power and audio connections are, place the equipment safely, connect the signal path with channel levels down, then power up in a controlled order. Test master output, headphones and microphone before loading the room with volume.
After the basic soundcheck, play a known track and walk the room if possible. Check that the booth level is useful without being excessive and that your master meter still has headroom. A repeatable sequence reduces panic when a venue is unfamiliar.