DJ Audio Signal Flow: Controller to Speakers
Follow the audio from DJ software through the mixer, outputs and speakers.
Think of audio as a chain
A simple digital setup has a music file or streaming input, deck playback inside DJ software, a channel with trim/EQ/fader, a master bus, a physical audio output, a cable and finally an amplifier and loudspeaker.
Powered monitors contain their own amplifier. Passive speakers require an appropriate external amplifier and should not be connected directly to a controller's line output. Many apparent software faults are actually problems elsewhere in this chain.
Separate the master and headphone paths
The master signal is what the audience should hear. Headphone pre-cue is a separate monitor feed so you can preview another track without broadcasting it. Check the software audio device, master channel assignment and headphone assignment.
Some entry-level systems use a split cable or device-specific workaround, while others provide independent master and headphone outputs.
A standard Bluetooth speaker usually introduces latency and is not a good substitute for wired DJ monitoring.
Match the output and input
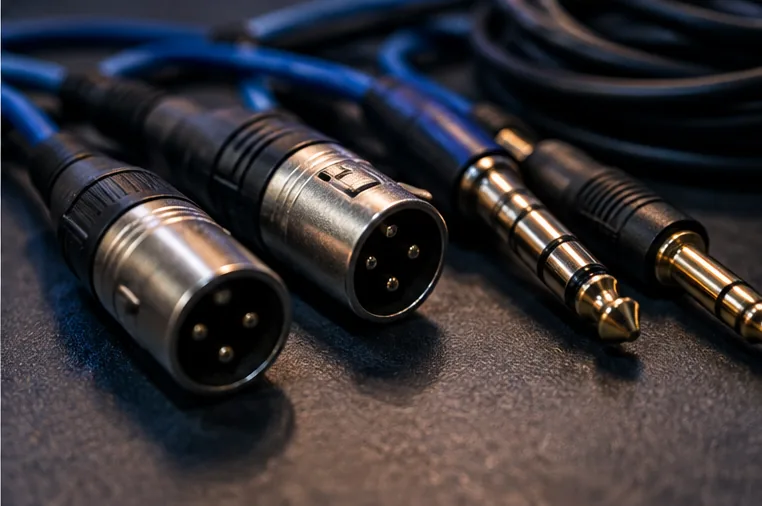
An RCA master output usually carries unbalanced left and right audio; balanced XLR or TRS outputs can offer advantages on longer cable runs when the equipment supports them.
A connector adapter does not automatically turn an unbalanced electrical signal into a balanced one.
A microphone input and a line input expect different signal levels, so connect a controller's master to a suitable line-level input on powered speakers or a mixer.
Set levels from the source outward
Start with playback and channel gain so individual channels do not clip. Set the controller master to a sensible level, then adjust the speaker or PA mixer input sensitivity as appropriate.
Turn speaker volume down before making connections or powering equipment on and follow the manufacturer's recommended switch-on order.
Loud distortion is not improved by simply turning every knob lower at random: find the stage that is overloaded.
A five-point fault check
When sound stops, test one stage at a time: file plays, channel meter moves, master meter moves, correct audio device is selected, and cable/speaker receives signal. Disconnect effects and Bluetooth paths while diagnosing.
Swap only one known-good cable at a time. This approach is more useful than reinstalling software before checking whether the master output cable is plugged into the correct socket.