DDJ-FLX4 With VirtualDJ: Setup, Audio and Licence Guide
Connect a Pioneer DJ DDJ-FLX4 to VirtualDJ, select speaker and headphone outputs and understand licence requirements.
Features, software versions and hardware licences can change. Use the linked official support resources to confirm your exact device and account before purchasing or performing.
What is officially supported?
VirtualDJ maintains a dedicated operating guide for the Pioneer DJ DDJ-FLX4, covering connection, controls and the built-in audio interface. This is different from assuming compatibility based on a third-party MIDI map.
According to the official setup page, full use of the FLX4 in VirtualDJ requires an eligible paid licence; without one it runs as a limited demo. The licence needed for your use depends on whether you are practising at home or working professionally.
Connect your actual equipment
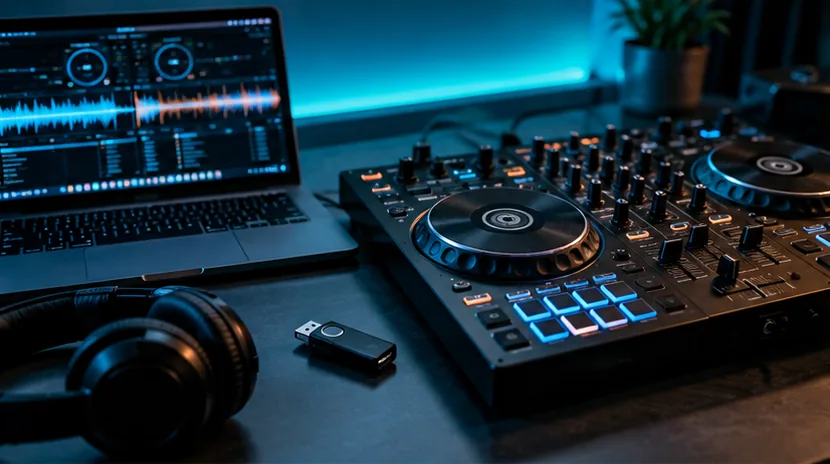
Connect the FLX4 to a suitable computer USB port using the correct cable and power arrangement. Attach powered speakers or an amplifier to the controller’s rear master RCA outputs and wired headphones to its headphone connection. Turn output levels down before switching on the speakers.
The official VirtualDJ FLX4 guide describes it as USB class-compliant on Windows and macOS; nevertheless, check AlphaTheta support for firmware updates and the operating-system requirements of your installed software.
Choose the FLX4 audio profile
After opening VirtualDJ and signing in, allow the application to recognise the controller. In the Audio Settings screen, select the predefined FLX4 option when the master speakers are connected to the FLX4, then confirm the Master and Headphones assignments.
Play one deck at low volume. Check the rear-connected speakers, then press the other deck’s CUE button, raise the headphone level and test the cue/master mix. If the cue is silent, do not immediately reinstall the software: first check the correct device and channels.
Microphone and recording are special cases
The DDJ-FLX4 routes microphone input differently from normal USB software audio. VirtualDJ’s FLX4 advanced guide explains how microphone audio and the dedicated record input can interact, so a recorded mix may include the microphone depending on the selected configuration.
Before recording a performance, capture a short test, speak into the microphone, then listen back. Never assume the microphone signal is present just because the audience hears it.
Should you use it at a gig?
The FLX4 can send a DJ mix through its master outputs, but an unfamiliar venue may expect professional balanced connections. Confirm the venue input arrangements and use a suitable sound desk or DI solution where necessary.
Check professional software licensing, prepare offline music and carry appropriate spares. A functioning controller at home is only one part of a reliable event setup.
Official sources and further reading
These original software-provider resources support the instructions above. Features, licensing and compatibility can change; check the latest version and your exact hardware before making a purchase or playing a gig.