VirtualDJ for Beginners: Your First 20-Minute Setup
Install VirtualDJ, prepare two tracks, check audio routing and make a first mix with or without a DJ controller.
Features, software versions and hardware licences can change. Use the linked official support resources to confirm your exact device and account before purchasing or performing.
1. Check the licence before connecting gear
VirtualDJ can be used for personal mixing without a controller on its Free licence. If you plug in a DJ controller, the right to use it without interruption depends on the controller and your licence. Check the official price page before assuming that a free download also unlocks your hardware.
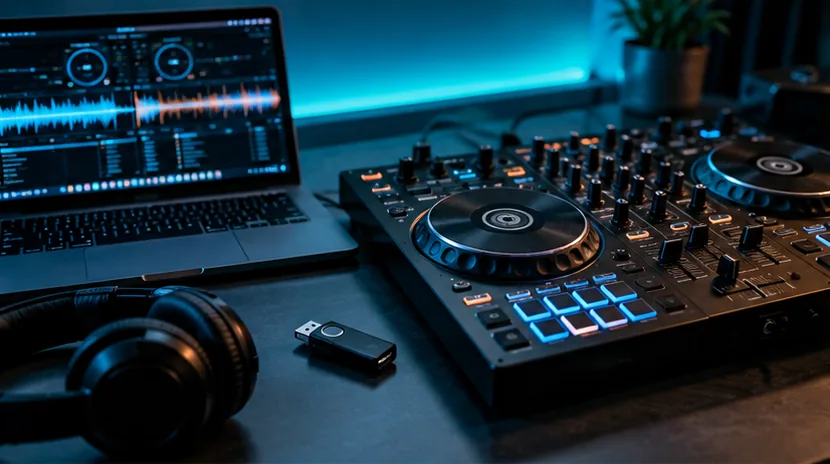
For a first lesson, leave the controller unplugged and learn the software’s two-deck view with your computer audio. That isolates software learning from potential USB driver or cable problems. Later, introduce the controller and its proper licence.
2. Install from the official source
Use the download at virtualdj.com/download/, install the version for your operating system and follow the on-screen account prompts. Use the official installer rather than third-party download websites.
Choose a clear layout such as Starter or Essentials so the waveform, two decks, mixer and music browser are easy to identify. Resist the temptation to customise every panel until you can explain the play, cue, crossfader and channel-level controls.
3. Build a tiny practice library
Choose around ten tracks that you can legally use and reliably access on your laptop. Group them by musical style or energy and add their folders to your music library if they are not found automatically. Then analyse BPM and inspect the beat positions rather than trusting the computer blindly.
Start with two tracks that have consistent rhythms and similar tempos. Listen for an intro, a regular drum pattern and a sensible point where the next record could enter.
4. Confirm the master output
In Settings → Audio, begin with Speaker Only and Computer Audio if you are practising without a controller. Play one deck and listen at a safe level. If you are using supported controller hardware, follow its official guide to select the controller’s predefined audio configuration instead.
Avoid Bluetooth for time-critical monitoring; the delay between pressing a button and hearing the result can undermine your timing. If you have wired DJ headphones, move on to the separate master/headphone configuration in our cueing guide.
5. Make a first transition
Load track A on the left and track B on the right. Keep track B’s channel level down while track A plays. Find a phrase start in track B, press cue or set a suitable cue point, then bring track B in gradually at a phrase boundary.
For this first run, leave complicated effects off. Repeat the same transition three times and listen for tempo drift, clashing low frequencies and the moment the outgoing track should be removed. Next, record a short practice mix using an eligible local source.
Official sources and further reading
These original software-provider resources support the instructions above. Features, licensing and compatibility can change; check the latest version and your exact hardware before making a purchase or playing a gig.